Now that we have a new table created, it's time to look at relationships.
Go back and look at the Order table. The third field in it is called CustomerID. If we look at the first record in the order table (order #30), we see it is for customer #27. It would be natural to assume this is Karen Toh - if we open the customer table, it has a field called CustomerID - the exact same name. We can also see there is a customer with an ID of 27 - Karen Toh. It is perfectly obvious this must be same customer, correct?
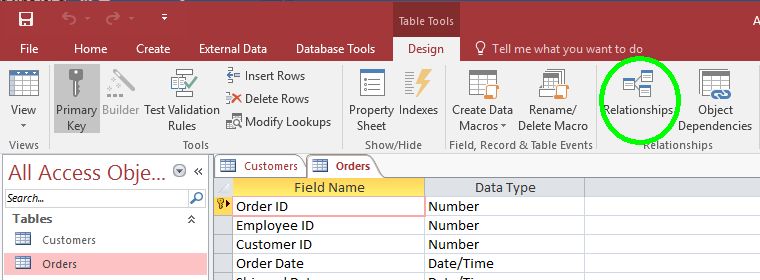
Not so fast. The fact that the fields have the same name is irrelevant. Access will not associate the CustomerID fields in the two tables with each other unless we link them together. We do this in the relationships window. Go to the design menu ribbon and click on Relationships.
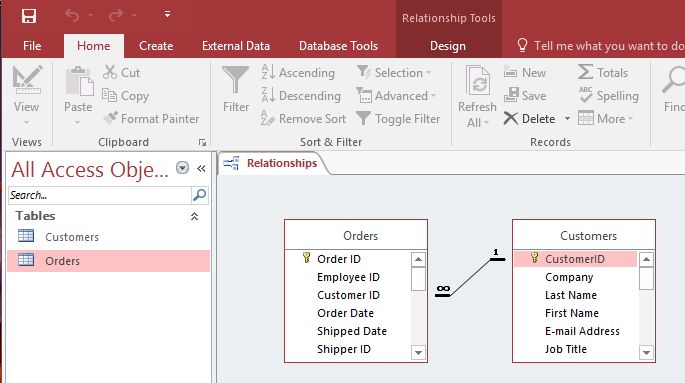
You should see the Order and Customer tables are there and there is a line connecting them. This means they are linked - that we can in fact be sure that order #30 is for customer #27, Karen Toh.
To link two tables together, we need a field in each table that holds the same data. Often those two fields have the same name, for convenience, but they don't have to. They must, however, have the same datatype.
A table relationship works by matching the data in those fields — so in the Order table in our example, customerID is a number, as it is in Customer (note that you can match number/autonumber, but for every other datatype pairing they should be exactly the same, e.g. Date/Date or Short Text / Short Text.This makes sense, because we are telling Access that this is the same data. The reason we want to make the link is so that we can find the customer record that goes with this order. We also want to be sure that there is a customer record for every Order, so we link to the Primary Key of the Customer table because that field has to be there, and has to have a value.
When we add a field to a table for the purpose of linking to another table, we call it a Foreign Key.
To link two tables together, make sure they are both displayed in the Relationships window. Then, drag the foreign key field onto the primary key field.
Try this now - click on the relationship line you see between Orders and Csutomers. You can tell when it is highlighted, it will be a little bit thicker. Now, delete it. Once it is gone, drag Orders.CustomerID onto the Customers.CustomerID field (you have to drop it on the right field, so be accurate. You should see the following dialog box:
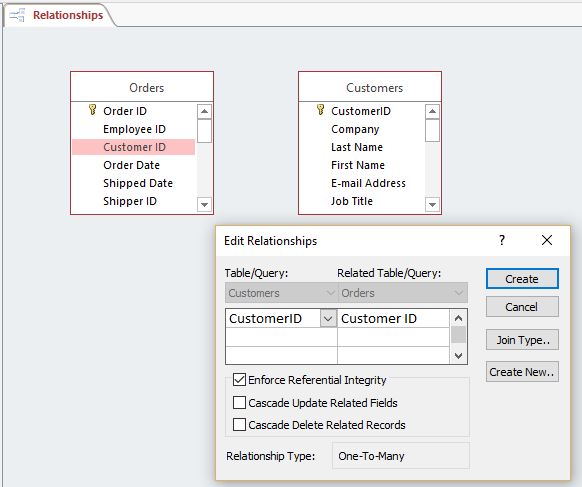
Tick the "Enforce referential integrity" box and click Create. The relationship line will be back.
Now we want to add our Shippers table to the mix, so that we will be able to find the shipper for each order. Remenber, we need two fields to create a relationsip - one in the Shipper table (the primary key of the Shipper table, in fact), and one in the Order table. Shippers.ShipperID already exists, but Order.ShipperId doesn't, so step one is add the foreign key to Order.
Do this by opening the design view of Order, and adding ShipperID to the end of the list (the order of fields doesnt matter to Access). Remember that the datatypes must match. Because ShipperID is an autonumber in Shippers, we use Number in the Orders table. You can't use autonumber here, because it is the Shippers table that controls how numbers will be autoassigned. The Orders field just has to match those. Also, you can't have Autonumber on anything but a primary key.

Now we can link them together.
Go to the Relationship window. "Drag" the Shippers table from the list of tables on the left onto the canvas.
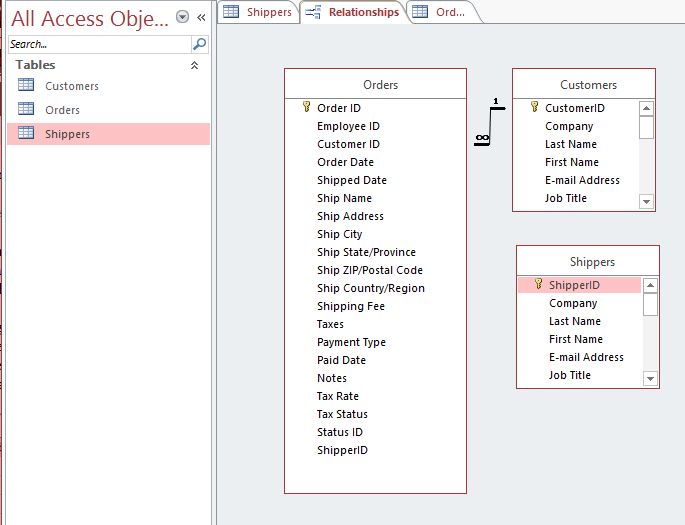
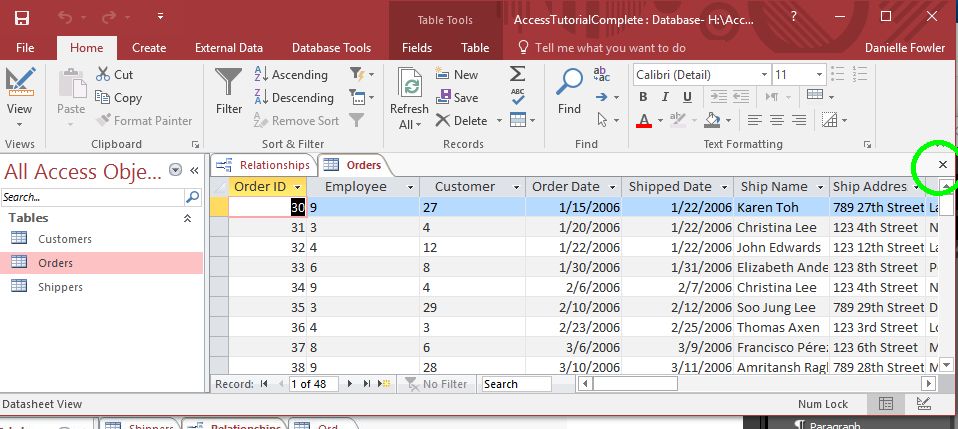
Now link the tables Shippers and Orders together the same way we linked Orders and Customers - drag the Orders.ShipperID on the Shippers.ShipperID field. If you have any trouble, it is proably because the tables are open - close them and try again. You close them with the little X on the right side of the window:
Make sure only Relationships is open.
We have one step left. So far we have:
The last step is to add data to the ShipperID field inside Orders. At the moment, that field is empty in every record. Now we need to add data to link each order to a Shipper. Northwind has setup the datasheet view of Orders so that you see the shipper name, not the shipperID number. We are not covering that here, so just type in a mix of values. Remember, we only have 3 shippers, with IDs 1, 2 and 3, so they are the only values allowed. If we wanted to have an order linked to a new shipper, shipper 4, we would need to add shipper 4 to the Shippers table first, before we can put 4 in the order table.
That's it for relationships. At this stage your example database should look like this one.