This guide is written for students taking the course INSS300 at the University of Baltimore, but it may be of general use to others learning Microsoft Access. It is written for an IT beginner, and walks through a fairly simple exercise. It is not designed to be a comprehensive introduction to all of the features in Access, but rather a guided introduction to help you understand the basic steps involved in creating and using a database. Once complete, you should be able to make better use of other resources, which include the built-in help inside Access, and the Microsoft tutorial pages at support.office.com.
The examples in these pages use Access 2016, which is available to all UB students under the Office 365 license (it should work with previous versions also, but you might find menus are in different places).
Please note that Access must be installed on the desktop (there is currently no online Office App available), and there is no version for the Mac. If you do not have a Windows machine please give yourself time to complete assignments in the campus labs. Or, if you have a Mac / linux machine (and a little bit of technical knowhow), you can obtain a copy of Windows from the department's dreamspark store here, and run it in a virtual environment such as Parallels or Virtual Box.
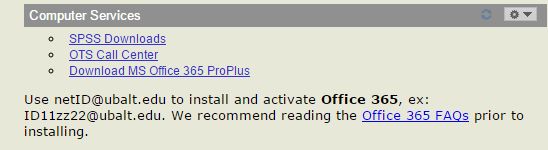
To download Access, log in to the MyUB portal and look for the Computer Services portlet on the right hand side, under the icons. The "Download MS Office 365 ProPlus" link is the one you want. Make sure you read the FAQ first.
This tutorial will guide you through adding a table to a small database and writing two queries. More specifically, it will cover:
The example we will walk through is based on the example application that Microsoft ships with every version of Access, called Northwind Traders. The Northwind Traders database is much more complicated than we need, but it is included automatically, and it is an example you can browse more fully after the tutorial if you want to explore, so let's create it now.
To do that, open Access. You should see a screen with something similar to the following. If you do not see the red menu area on the left, but see the regular office menu, go to File > New.

Click on the Small Business template category circled in green. You should see Northwind as an option on the next page.

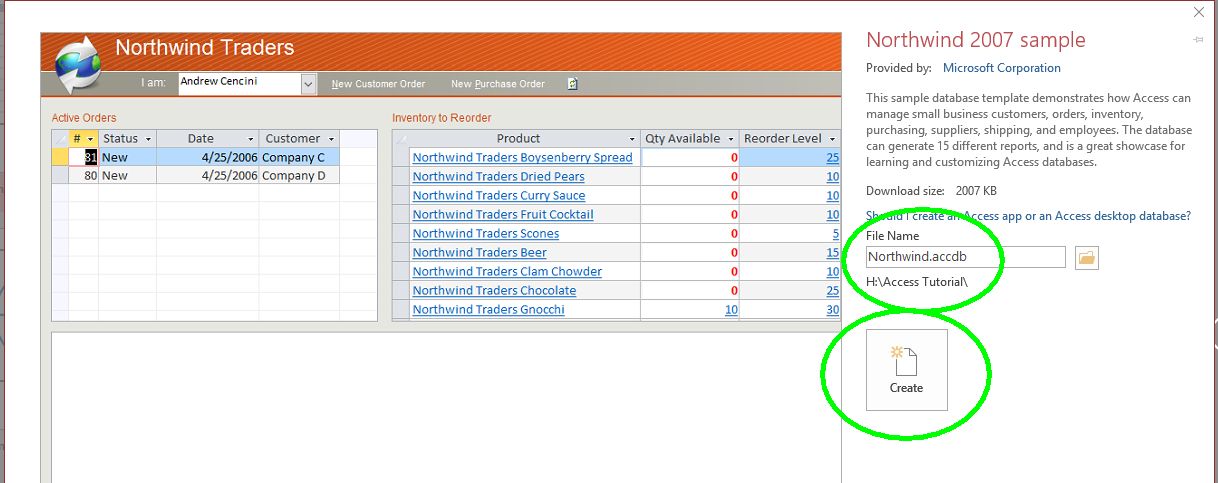
Click on the template name ("Northwind 2007 sample"), and on the following screen choose a name for the database (I recommend calling it Northwind), and specify which folder you want to save it in. The click the Create button.
You will probably see a security warning, you can go ahead and click Enable Content.

This should lead to the following screen:

Northwind Traders opens by default in application mode, i.e. it is a running example, complete with user logins, forms, and so on. We don't need to look at any of that (although feel free to play with it, if you break anything you can simply create it again). Click Login.
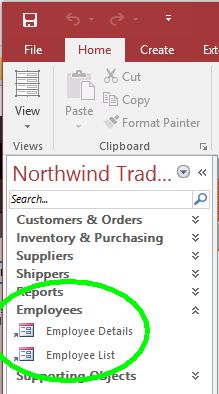
You are now looking at the standard Access environment window. Check out the left menu - it has been organized so that you can go to parts of the business application that a manager / user might be interested in. If you click on Employee, you will find two items in the menu list underneath. The first one is a form, where you can enter new employee details. The second is a report of all current employees.
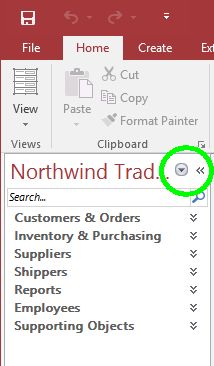
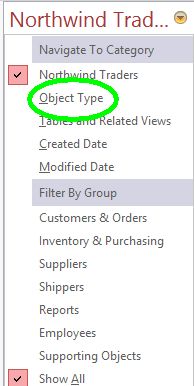
Grouping things this way makes sense for users of the finished database, but we want to see all the elements in our database in the standard Access view, so we will change it. Go to the small arrow highlighted below and click it:
On the menu that appears click on Object Type.
Now everything is organized as follows.
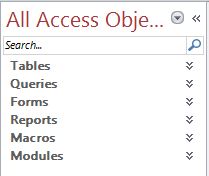
This is the standard Access menu view, that matches all of the examples and demonstrations you will see in class/online. You can see that this database contains Tables, Queries, Forms, Reports, Macros, and Modules. We will not be covering all of these, just Tables and Queries.
At this stage you can save the database and close it out. We are going to swap to a very simple cut down version of this database that has only what we need in it. You can open it back up again later when we get to adding data to our table - it is easier to copy it over than type it all in.
The simple file we will be using from here on is this one. Download and open it now (tip: make sure you change the name and save it somewhere on your machine that isn't the downloads folder. That way if you happen to download it several times you will know which file you have been editing).
Continue on to Creating a Table